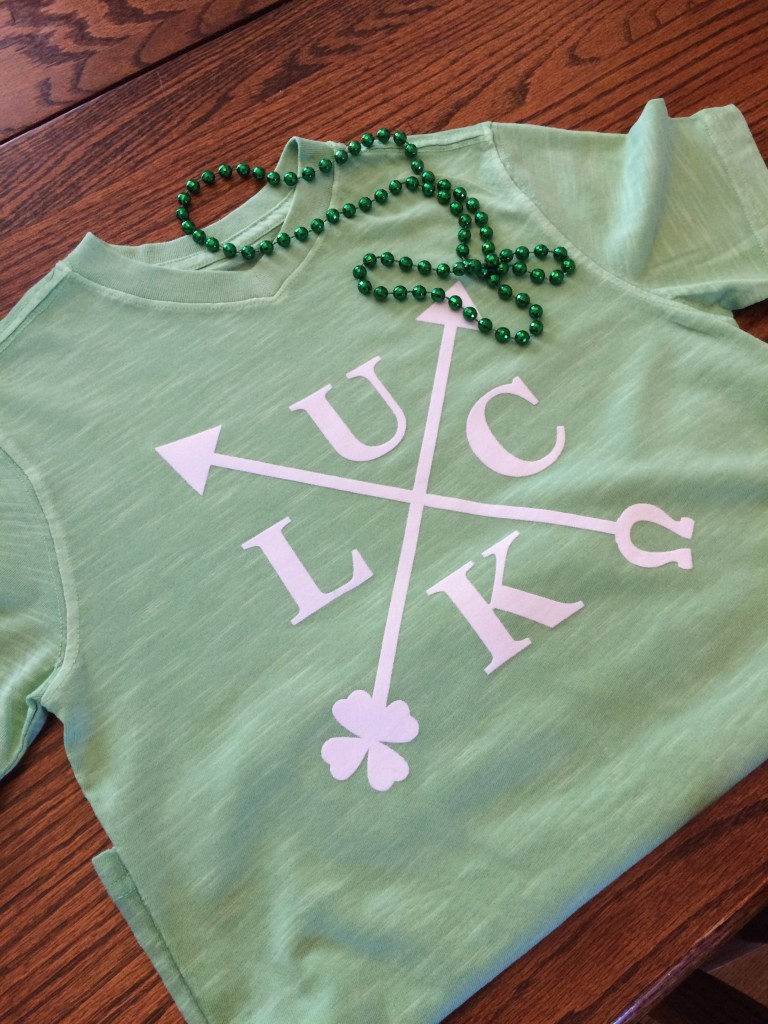
Whether you’re Irish or not, you can celebrate St. Patrick’s Day with a custom made t-shirt that might even bring you a little luck. I made this one for my son, and while it’s perfect for celebrating St. Paddy’s Day, the design is versatile enough to be worn all year long.

I’ll be traveling tomorrow for work, so unfortunately I won’t get to join in on any St. Patrick’s Day revelry, but I did make a shirt for Carter to wear using the Silhouette Studio software and a few purchased shapes from the Silhouette store.
Supplies:
- T-shirt (picked up at Target)
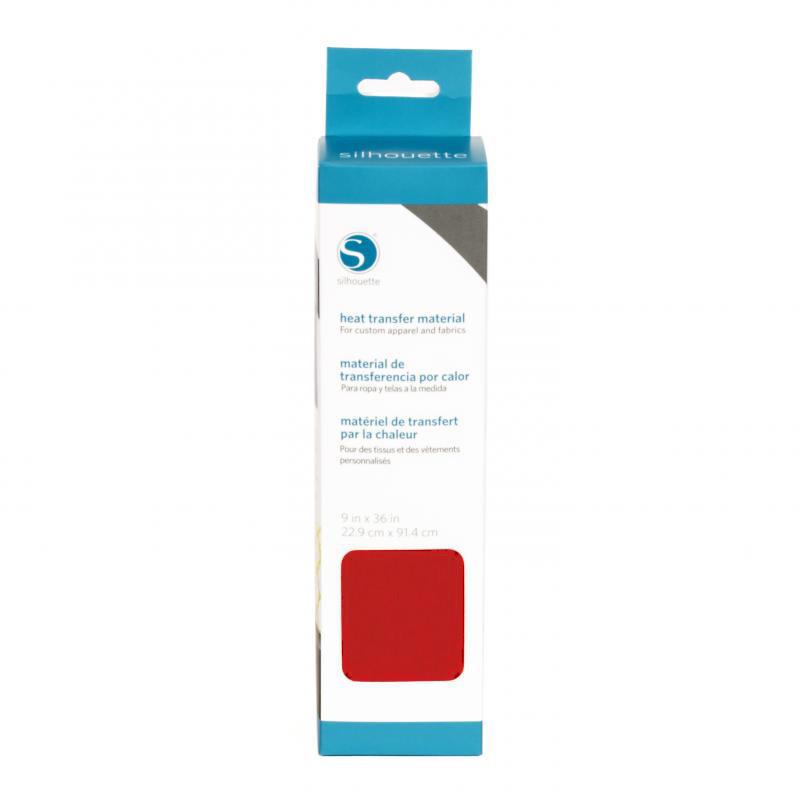
- Heat Transfer Material
- Shamrock and Horseshoe shapes.
You could do a lot of different variations of shirt colors or heat transfer colors. I found a plain green t-shirt for my son at Target, and I used white flocked heat transfer material that I already had on hand.
Step 1: Create the Criss Cross Arrows
You can make your own arrows with rectangles and triangles (shown below), or you can pick out your favorite arrow design from the Silhouette Store. I made them St Paddy’s style by adding a shamrock and horseshoe to the ends.
In order to make sure the arrows will be even and at the right angles, add a square box to your blank design in approximately the size you think you’ll want your design. (You’ll delete this later, it’s just a guide). Using the Draw a Rectangle tool, create a skinny rectangle and rotate it into an angle across your square. Then use the Draw a Polygon tool to create a triangle in the corner of your square.

You’ll need to cut out where your rectangle and triangle meet. Use the Knife tool to slice the line inside each side of where the triangle and rectangle meet. Select that piece and delete it.

Using the Select tool, select both the rectangle and triangle, right click and select “Group” to group your shapes together. Then copy and paste so you have a second arrow. Right click and select “flip horizontally”.

Criss cross your second arrow over your first and move it into place, using your square as a guide.
Step 2: Add Your St. Patrick’s Day Flair
Go to your library and select your shamrock design. If it’s part of a group of images like the one I chose, you will need to “Ungroup” and delete the ones you don’t want to use. Size it down to the appropriate size.

Using the knife tool cut off the stem before placing it on the end of the arrow. Once placed, use the knife tool to cut off the other edges where the shamrock meets the end of the arrow, so there are no more intersecting pieces.

Repeat on the other side, using a horseshoe shape.

You have one last bit of cleaning up to do, and that’s in the middle where your arrows intersect. Use the knife tool again to separate the inner pieces you don’t want as part of your design and delete them.
Step 3: Add Your Letters
You’re ready to add your letters! Select the Text tool, and create your “L”. You can use any font you like. In this design, I used Georgia. Play around with the size until it fits nicely in your design. Once the proportions are correct, you can adjust the overall size later.
Copy your “L” and paste it into each of the other three quadrants of your crossed arrows and change the corresponding letters to spell out LUCK in a clockwise pattern, positioning each letter as you go.
Step 4: Final Design Prep
Use the Select tool and select all of the elements of your design. Right click and group them together. If you want to adjust the overall size of your design, you can do that now with everything grouped together, just grab one of the corners of the design and expand or shrink to your desired size. Once you are satisfied with the size, you are almost ready to cut!
You will need to reverse your design before you cut it so that it will turn out the right way when ironing it on your t-shirt. Simply right click your grouped together image and select “Flip Horizontally”.
You’re just about there!
Step 5: Ready to Cut.
Go to the Cut Settings and select your material type, either heat transfer smooth or heat transfer flocked. Adjust your blade accordingly to what the settings tell you. Since the flocked material is thicker, that requires a deeper blade setting.
Feed your heat transfer material into your Silhouette Cameo with the glossy side down.
Then hit the Send to Silhouette button to make your cuts. Listen to your Cameo sing it’s little cutting song. Am I the only one who thinks it sounds a little melodic? Okay, I’m crazy.
Step 6: Weed and Place Your Design
Pull off the excess transfer material from the backing. With the flocked material and the simple nature of this design, I barely needed to use my weeding tool, just to help with a few curves.

Place your design, glossy side up on to your t-shirt. I use a ruler to check my distance from each side.
Place a cloth over your design. I used an old pillow case, but scrap fabric or another t-shirt also work great. Press with your iron firmly over the design. I hold for about 10 seconds at a time and then move on to the next area, repeating as necessary. Check on your design by lightly peeling up the plastic backing. if any part of your transfer material isn’t easily coming off, you need to keep repeating the ironing process until it does. I generally find it takes at least 2-3 minutes of ironing when I’m using the thicker flocked heat transfer material.

Finally, carefully peel back the plastic backing completely.
Admire your new shirt, and get ready to celebrate St. Patrick’s Day!
This method could really be used to create custom shirts with any four letter word (you can deem how appropriate that four letter word will be!). Here are the ones that come to mind for me:
- 4 letter states or cities – You can bet I’m going to make an IOWA one for me!
- 4 letter first or last names
- LOVE (heart arrows)
- JAZZ (music note arrows)
- BAKE (criss cross whisk and spatula)
- COOK
- WINE
- HOME
- HOPE
- LIVE
- WISH
- SOUL
Do you have any St. Patrick’s Day plans? Hopefully I’ll at least be able to find some mint chocolate goodies somewhere in the airport!


